The photographer was booked for Tuesday. It was Saturday afternoon. I walked through Casa Moto with a coffee and told myself we were basically ready.
We were not ready.
What followed was five days of realizing that "finished" and "photo-ready" are two different states. The furniture was in. The beds were made. The pool was clean. And yet almost every room needed something before a camera should point at it.
This is the playbook I wish I had written five days earlier.
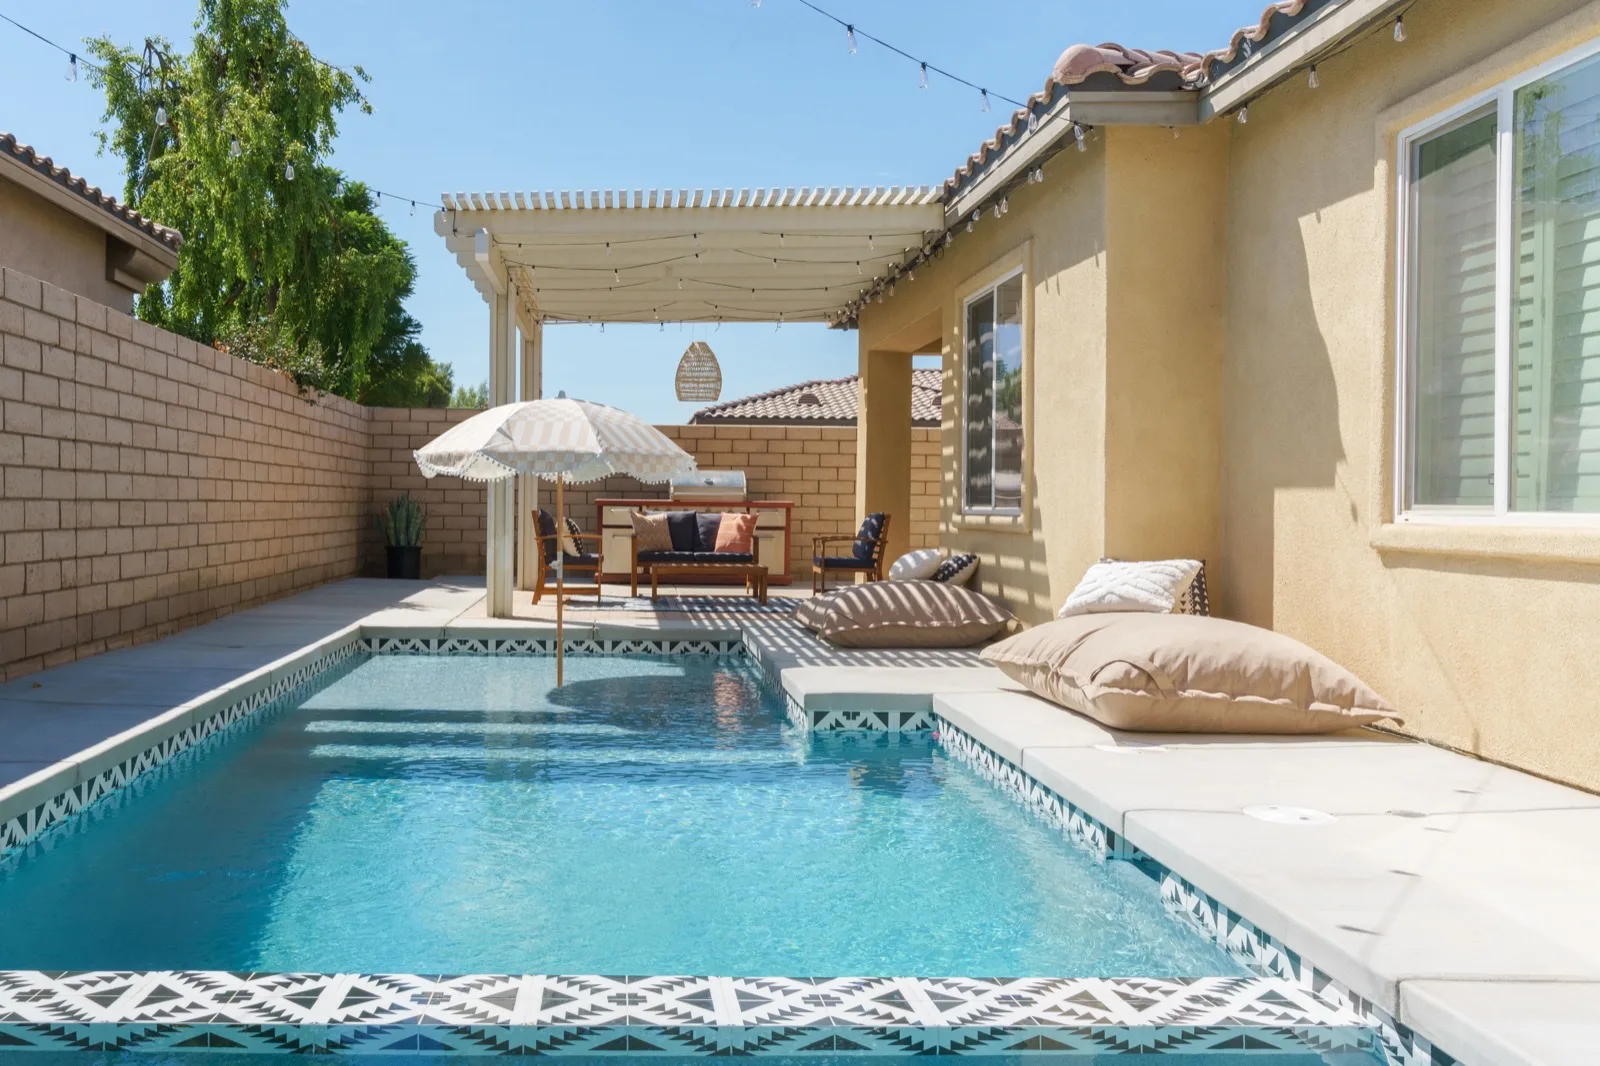
The pool is the hero shot. Everything in staging flows outward from here.
Why Staging for Photography Is Its Own Skill
Airbnb guests make booking decisions in about eight seconds of photo scrolling. Not reading. Scrolling. The first image either stops their thumb or it doesn't. If it doesn't, your description, your amenities list, your five-star reviews: none of it matters. They're already on the next listing.
I learned this with our first property, Cozy Cactus, where we shot with a point-and-shoot in mixed afternoon light and watched identical properties outbook us three to one. We upgraded the photos. Bookings went up. I've been evangelical about photography ever since.
The mistake most hosts make is staging for the room. You want to stage for the feeling. A room staged for the room looks like a furniture showroom. Guests don't book furniture arrangements. They book the fantasy of themselves in a space. You give them that story by setting the table, draping the throw, putting a book face-down like someone just stepped away.
Day 5: Walk It Like a Stranger
The most important thing you can do five days out is see your property with fresh eyes. If you've been living in the renovation or the setup, you've long since stopped seeing half the problems.
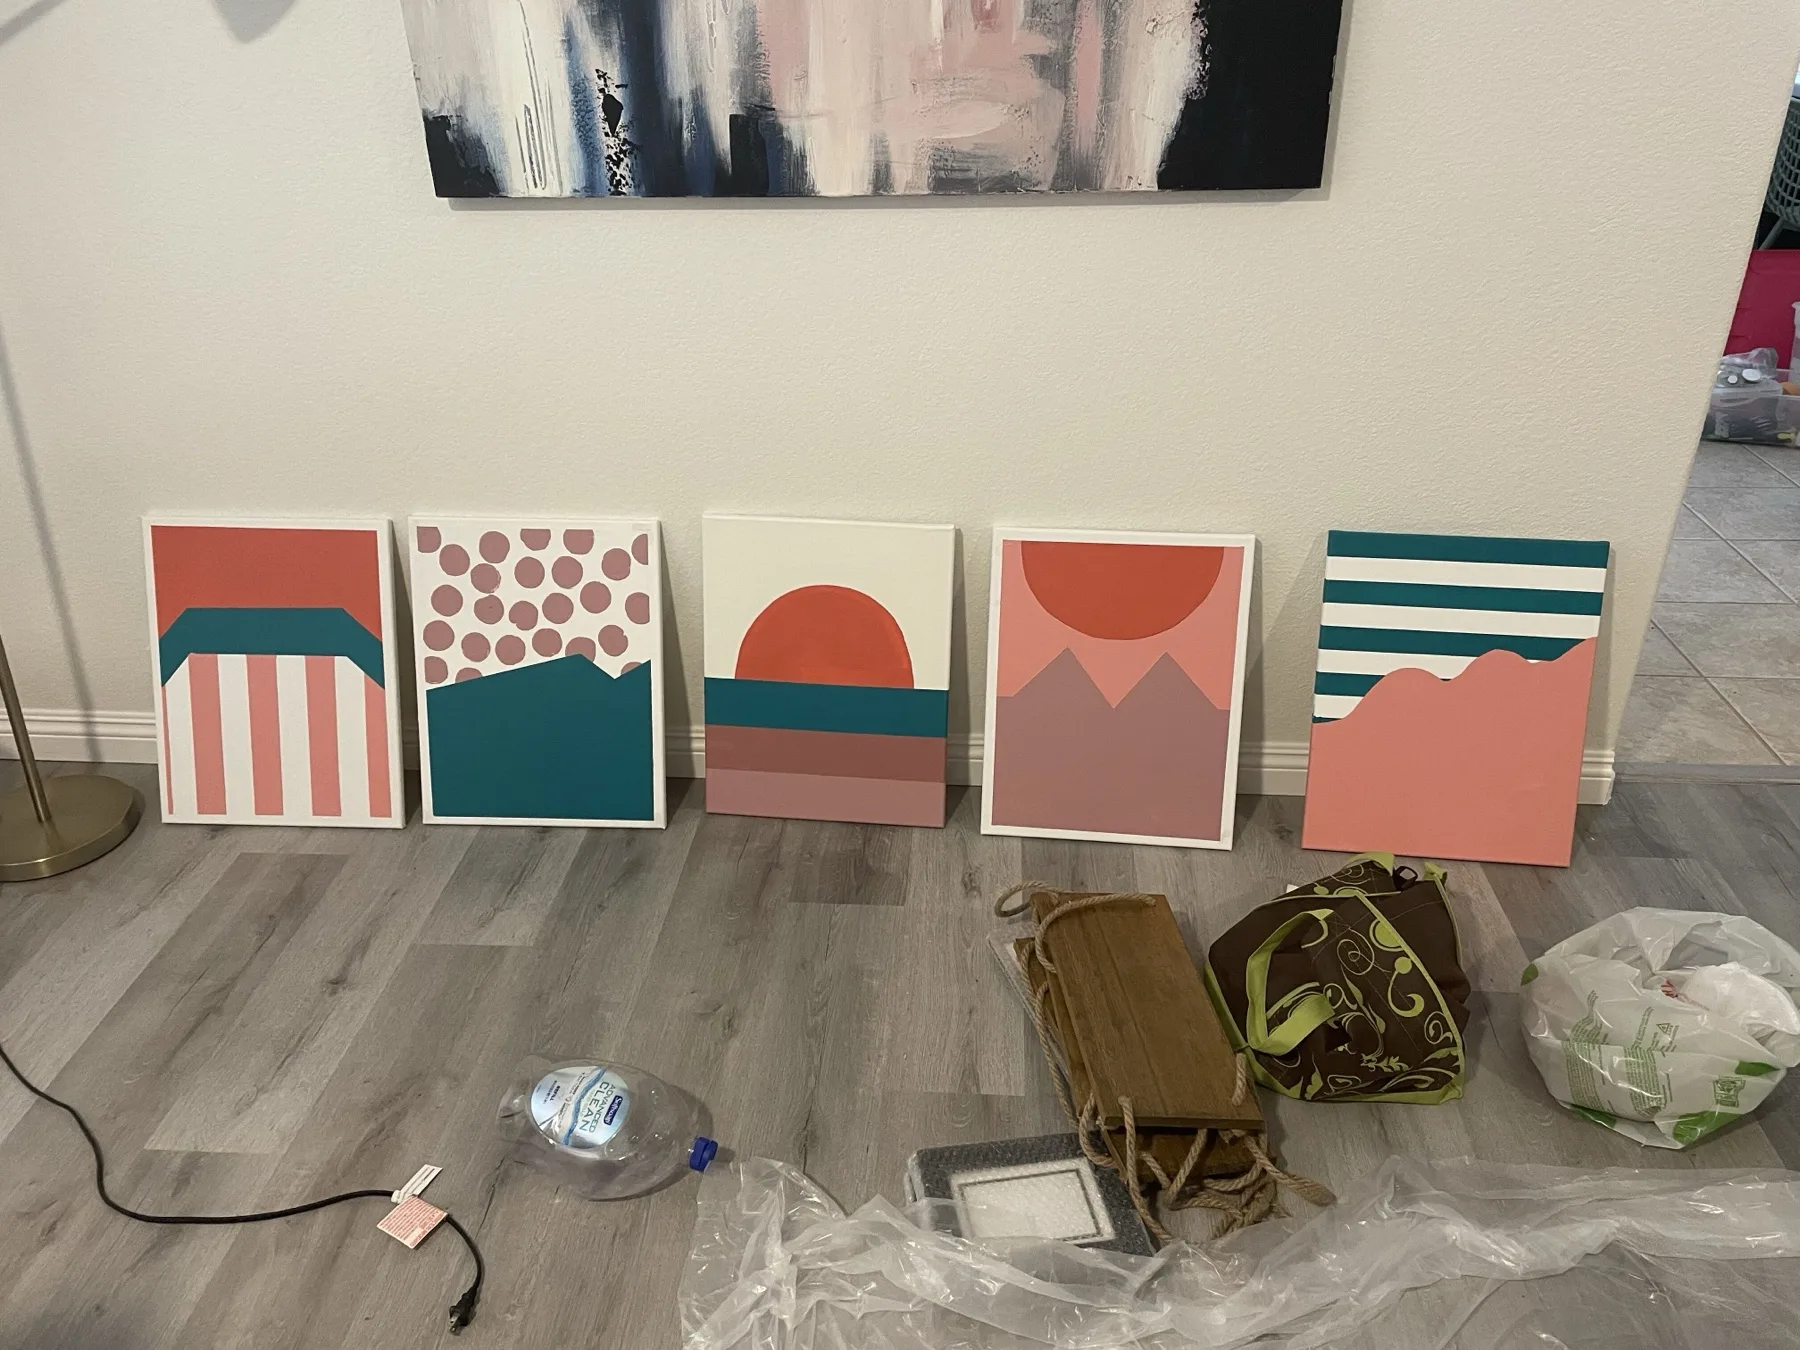
Walk in through the front door like a guest who just arrived. Take a photo from every entrance to every room. Stand in the doorway and shoot toward the far wall. These photos will be unflattering. That is the point. You're finding what the camera will find before the photographer does.
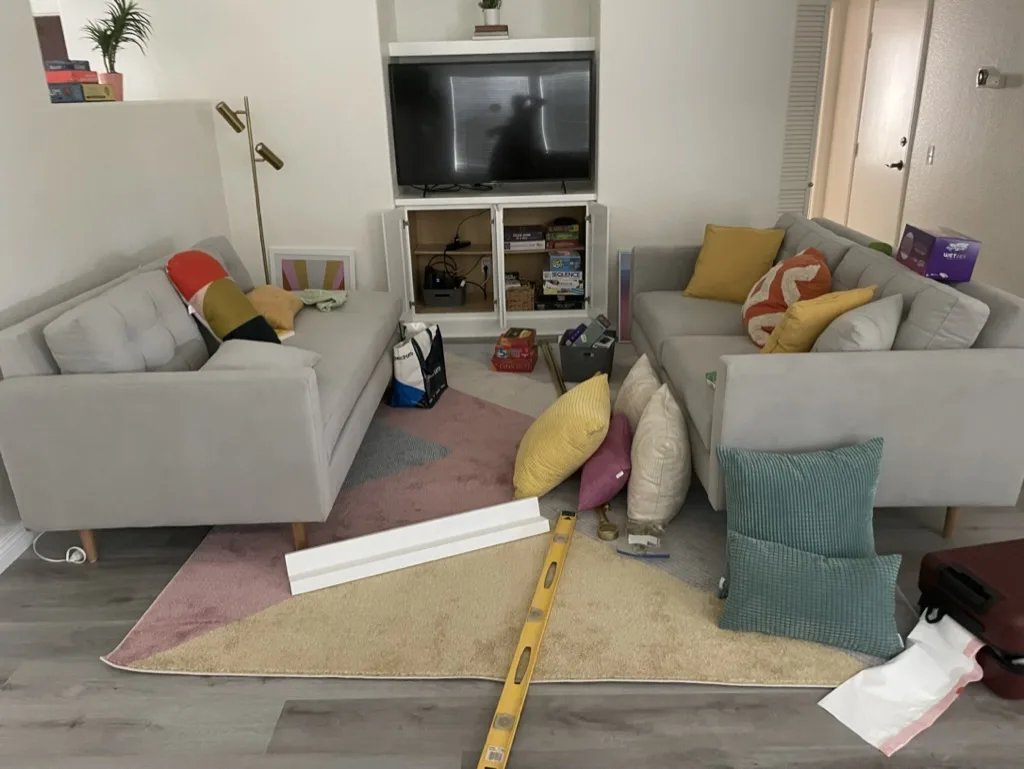
This is what Day 5 looks like. Not bad. Just not ready. There's a difference.
What you're looking for: anything your eye skips because you know it belongs. A power strip under the console. A roll of tape still on the counter. An extension cord along the baseboards. An extra chair that never found its room. These are invisible to you by now. They are not invisible to a camera.
Make a room-by-room list. Do not fix anything yet. Just document. On Day 5, the list is the work.
Day 4: Deep Clean and Finalize the Layout
Day 4 is cleaning. Not guest-ready cleaning. Photo cleaning. The difference is that a camera picks up things a guest never notices: smudges on stainless appliances, water spots on shower glass, lint on dark bedding, a single stray paper on any horizontal surface.
Day 4 also means any last staging supplies need to be in the house. If it's not here today, it's probably not making the shoot.
Work room by room. Finish completely before moving on. If you bounce between rooms while something is still half-done, you'll miss things. I know because I missed things.
Day 4 is also when you finalize furniture placement. Moving a sofa or bed frame the morning of the shoot wastes photographer time and means you're making those decisions under pressure. Do it now, while you can think. Walk the rooms again once the furniture is locked and take another set of phone photos from the corners. What looked right from standing height may not read well from a wide-angle lens at doorway level.
Day 3: Stage the Vignettes
Vignettes are the styled moments in a listing that tell a story. A book open on the side table. A citrus bowl on the kitchen counter. Two wine glasses on the outdoor table. A throw draped over the arm of a chair. None of these things have to be permanent. They just have to exist for the photo.
Throw pillows are the thing I spent the most time on and was most wrong about. The combination that looks good in person is often not the combination that photographs well.
On Day 3, I go room by room and style each specifically for photography. This means thinking in layers: background, midground, foreground. A flat empty wall is a background problem. A sofa with no throw pillows is a midground problem. A coffee table with nothing on it is a foreground problem.
You don't need a lot. You need the right things in the right places. A tray on the coffee table with two or three items is better than twelve items scattered across the surface. A throw draped on the sofa reads cozy in a photo. Three throws and four pillows reads "I am trying too hard."
Take test photos with your phone as you go. What looks balanced in person often looks different on screen. The phone will tell you faster than your eye will.
Day 2: The Tchotchke Audit
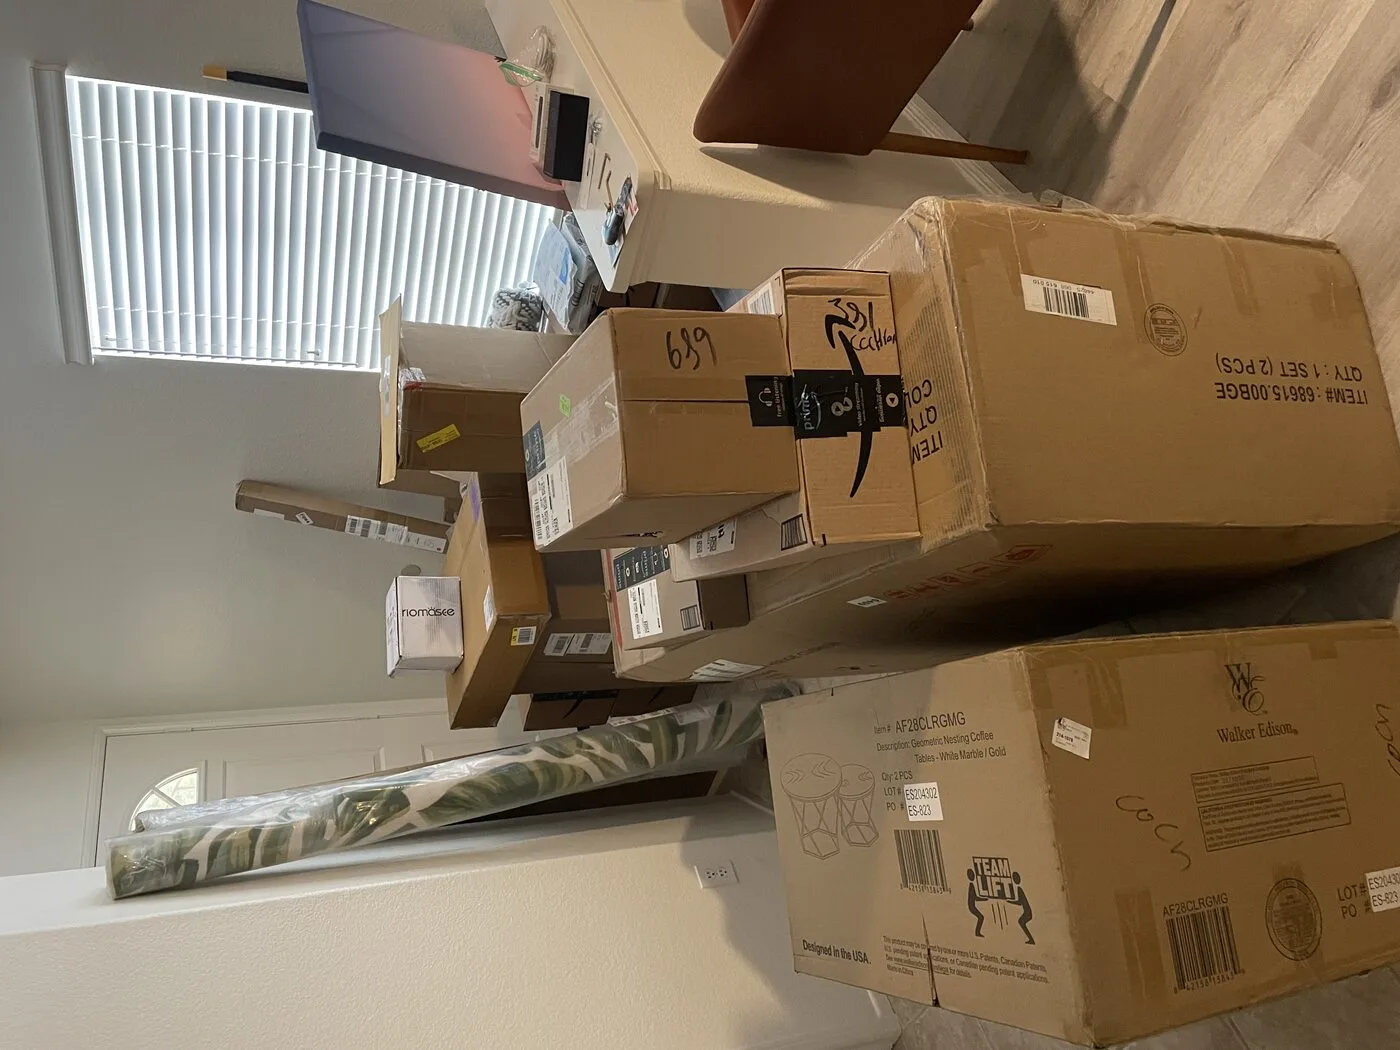
Every vacation rental accumulates stuff. Decorative items that made sense individually but became visual noise collectively. Magnets on the fridge. A stack of local maps by the front door. A wire organizer that holds nothing. Four candles on a shelf when two would do.
The tchotchke problem. Every single item seemed like a good idea. Together, they are a mess.
Day 2 is the edit. Go through every surface and shelf. Ask one question per item: does this earn its place in the photo? If you're not sure, remove it. You can always put it back. You cannot un-publish a listing photo with a cluttered shelf behind the dining table.
Also on Day 2: handle anything that cannot be in the shot but lives in the space. Cleaning supplies under the sink are fine. Cleaning supplies staged on the counter because you forgot to put them away are not. The router, the packaging you meant to throw out, the sticky note with the WiFi password. These things should be invisible in photos.
Do one final phone-camera pass through every room. Stand in the corner. Shoot toward the natural light source. Look at the screen, not the room. Something will still need to move. It always does.
Day 1: The Final Walk and Morning Prep
Day 1 is a light day. The work is mostly done. What you're doing now is checking.
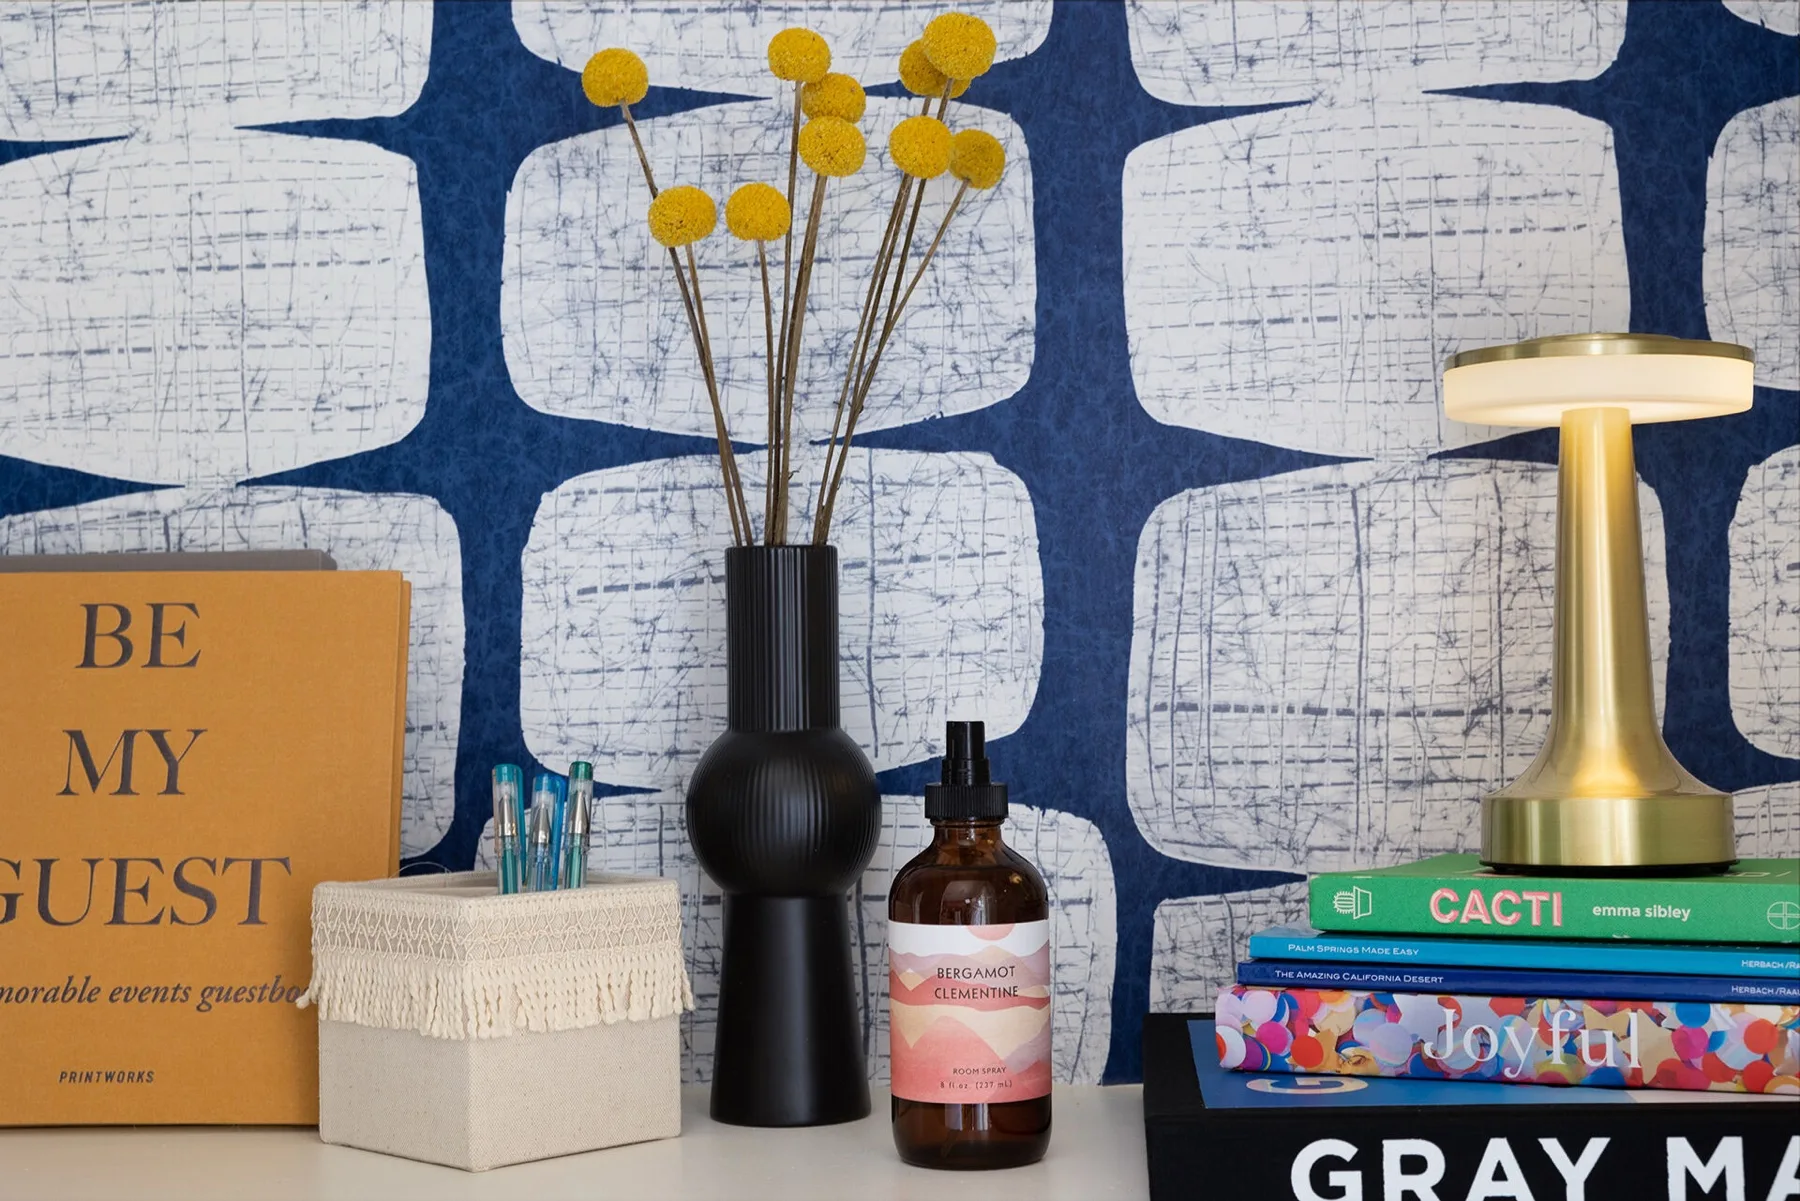
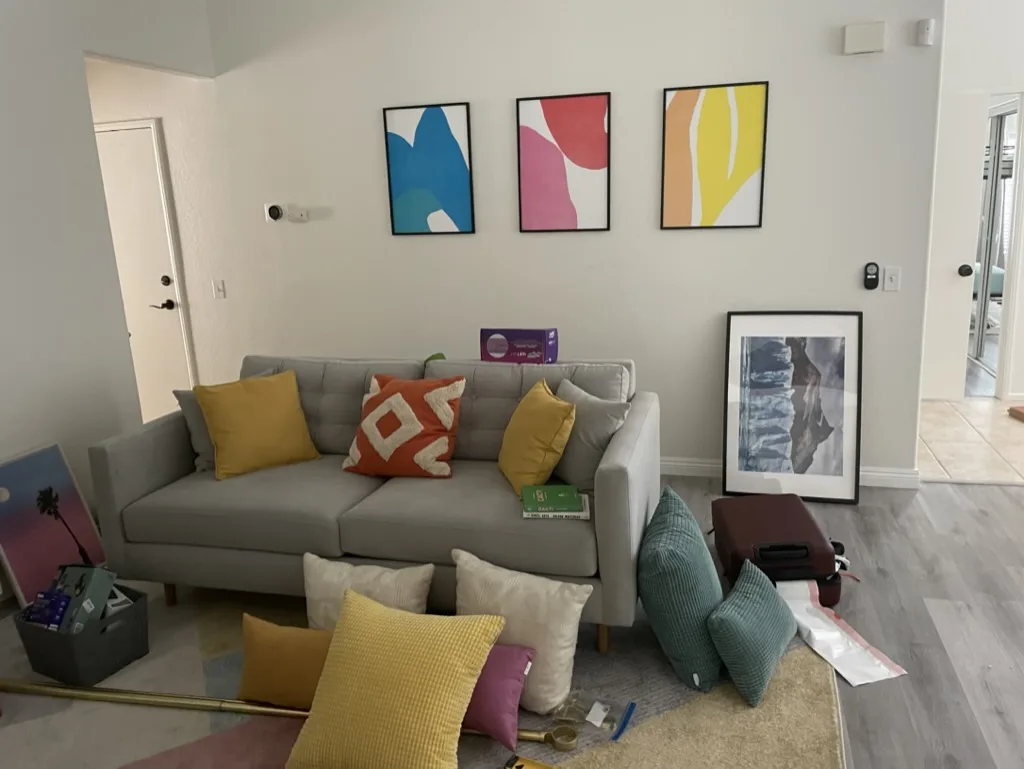
This is what a finished vignette looks like. Nothing placed randomly. Every item chosen for the photo.
Walk the property one more time against your list. Confirm the beds are made tight, the throw positions are locked in, the outdoor furniture is clean and arranged. If the pool has leaves, deal with it now, not at 8am tomorrow.
On the morning of the shoot, get to the property 30 to 45 minutes before the photographer. You're not staging anything new. You're resetting: turn on every lamp, open every blind, adjust anything that shifted overnight, make sure the outdoor furniture didn't blow out of position.
This is also when you do things you cannot do earlier. Fill the fruit bowl. Put fresh flowers in the vase. Set a coffee cup by the espresso machine. These small touches photograph beautifully and they wilt or get stale if you place them too early. When the photographer walks in, the house should feel like it is ready for a guest who happens to also be a camera.
What Good Listing Photos Actually Do
Listing photos are not decoration. They are your first conversation with every potential guest. Before anyone reads your description or checks your reviews, they form an impression from your photos. That impression is why they click or scroll past.
The staging you do before the shoot is the foundation for those photos. A good photographer can make a well-staged room look exceptional. They cannot make a cluttered or half-finished room look ready. The work happens before the camera shows up.
At Casa Moto, the photo shoot was the first time I saw every room finished and styled at the same time. It was also the first time I understood how much a deliberate five-day process changes what ends up on the listing. If you want the deeper hosting philosophy behind these details, the lessons from 191 Airbnb reviews covers what actually moves the needle with guests.
The 5-Day Staging Checklist
- Day 5: Walk-through photos from every doorway, room-by-room problem list
- Day 4: Deep clean (windows, glass, hardware, dark linens), finalize furniture layout, receive last staging supplies
- Day 3: Style vignettes room by room, test with phone camera, adjust
- Day 2: Tchotchke audit, clear all non-photo items, second phone-camera pass from corners
- Day 1 + morning of: Final walk against the list, pool and outdoor reset, communicate with photographer, arrive 30-45 minutes early for the perishables
Five days feels like a lot until it's Tuesday morning and you realize Day 5 was Saturday and Saturday was mostly driving to HomeGoods.
Start on Day 5. Do the list. The photos are worth it.